Did you know that most people spend around 7 hours creating a 5-minute YouTube video?
That's a significant amount of time. But what if you could streamline the process and cut down those hours?
I mean, think about how much more you could get done and how much smoother your content creation would be.
Well, in this blog post, I’ll share the step-by-step we follow for repurposing blog posts into YouTube videos.
This process saves us anywhere between 3 to 5 hours of work for every 5 minutes of video content.
All you need to get started is a blog post to repurpose and a content editor like Google Docs or Word.
Alright, let's go over the process.
More...
Full process breakdown
This process is very straightforward:
There are eight steps in total – it seems like a lot, right? But in our experience, this is the best way to ensure the quality of the video.
That said, if you feel like a step isn’t completely necessary or could be streamlined, don't hesitate to tweak it to fit your needs.
Step 1: Break the blog post down into sections
Start by identifying the different sections of your blog post. In my case, the original blog post included an introduction, a list of key takeaways, an explanation of what business blogging is, the benefits of blogging for business, a conclusion, and a few frequently asked questions.
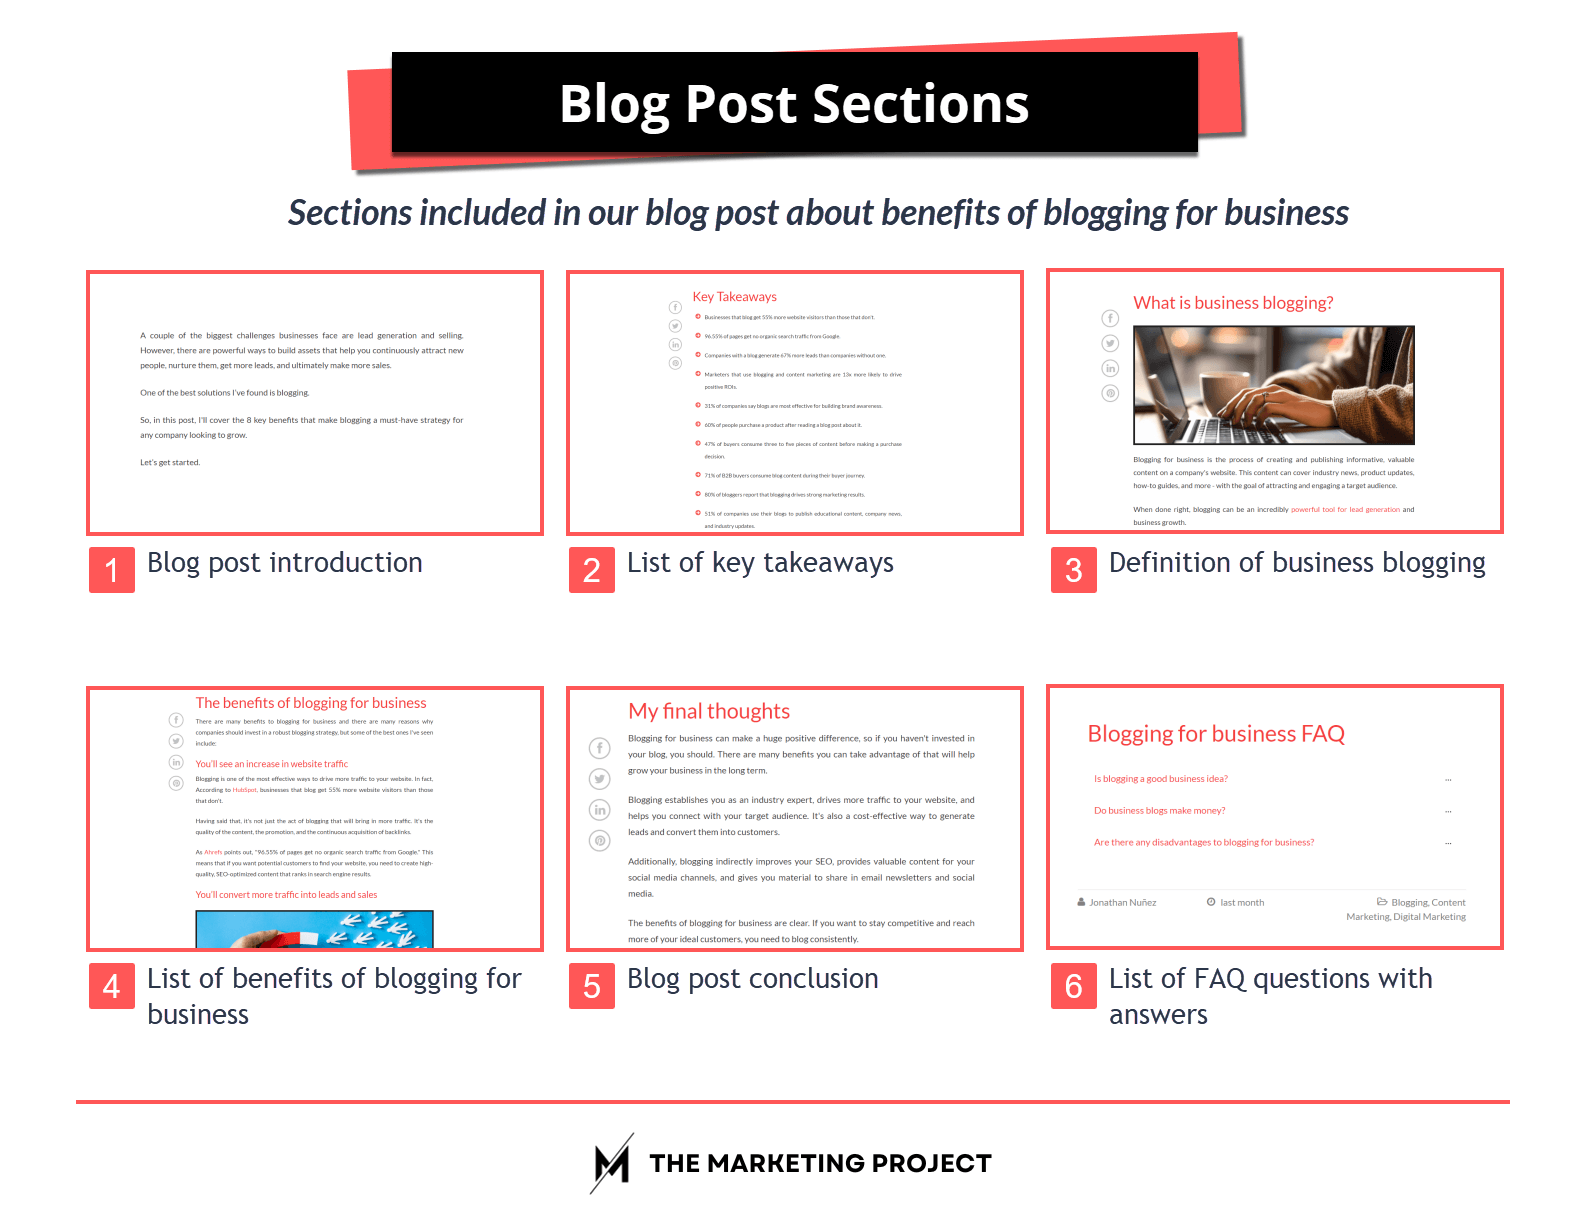
Now, something important to mention is that you don’t need to use all the information in your blog post. What you need to do is identify the most important parts and think about the best way to present that information in video format.
For our video, I’ll use our introduction, our list of key takeaways, the benefits of blogging for business, and our conclusion. I won’t need anything else, but that doesn’t mean we can’t use the rest of the information for other videos. You can always repurpose the remaining content into other videos or social media posts.
Now that we have the content we’ll use, it's time to think about how to structure it.
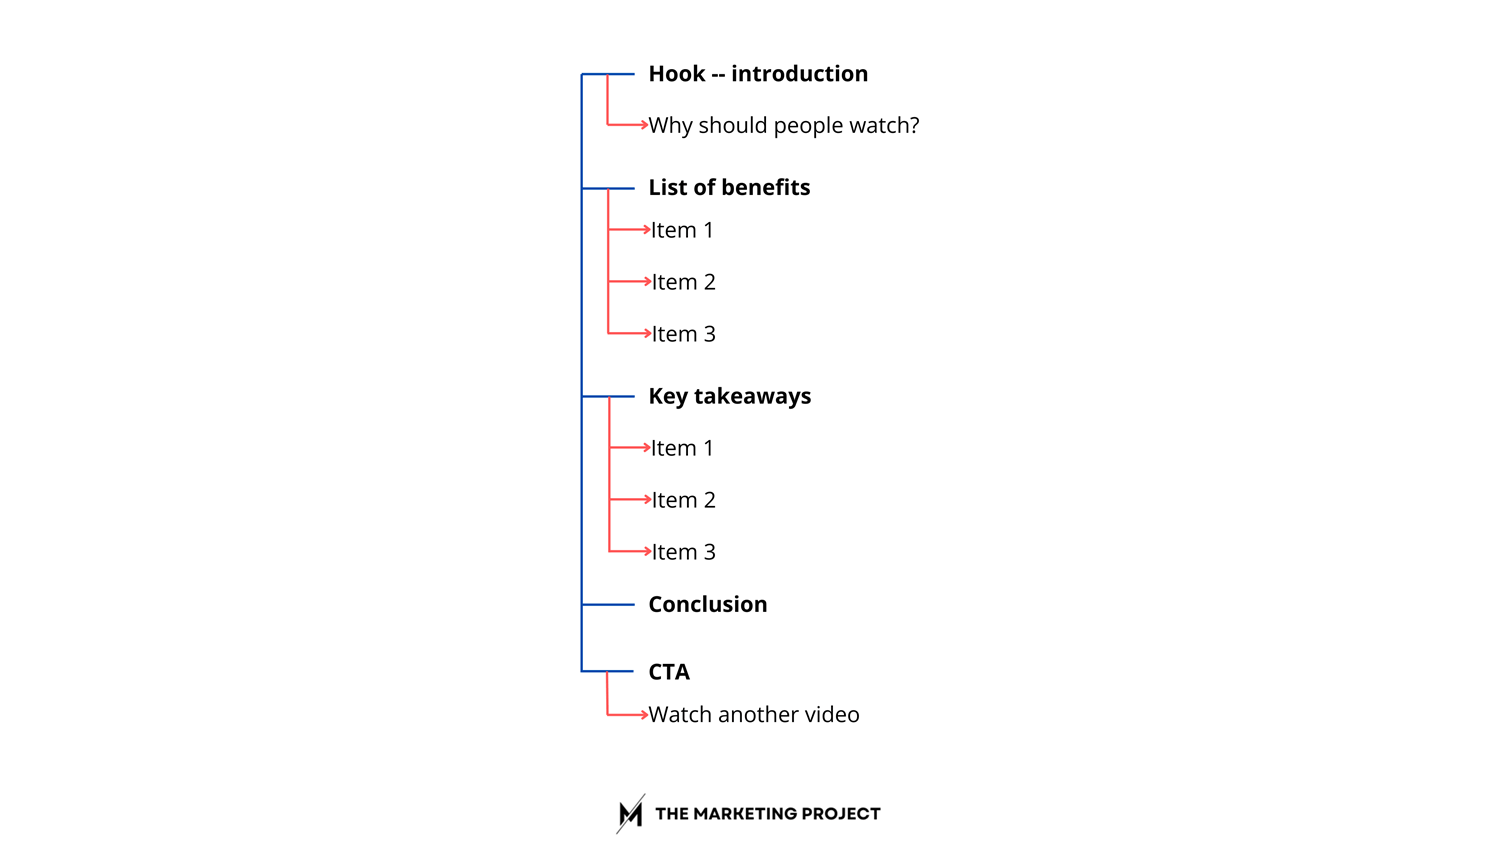
Here’s the structure I’ll use for our video:
This structure helps us clearly and effectively present the information, and you can easily adapt it to fit your own needs.
Do you want to repurpose your content?

The Marketing Project is a digital marketing agency that specializes in Q&A marketing. So, if you are interested in repurposing your blog posts, videos, and podcasts, check us out.
We turn your existing content into blog posts, email newsletters, and social media posts.
If you are interested, visit this link.
Step 2: Script your YouTube video
First, think about your hook. The hook is essentially the reason why people should pay attention to what you’re saying and why they should keep watching your video.
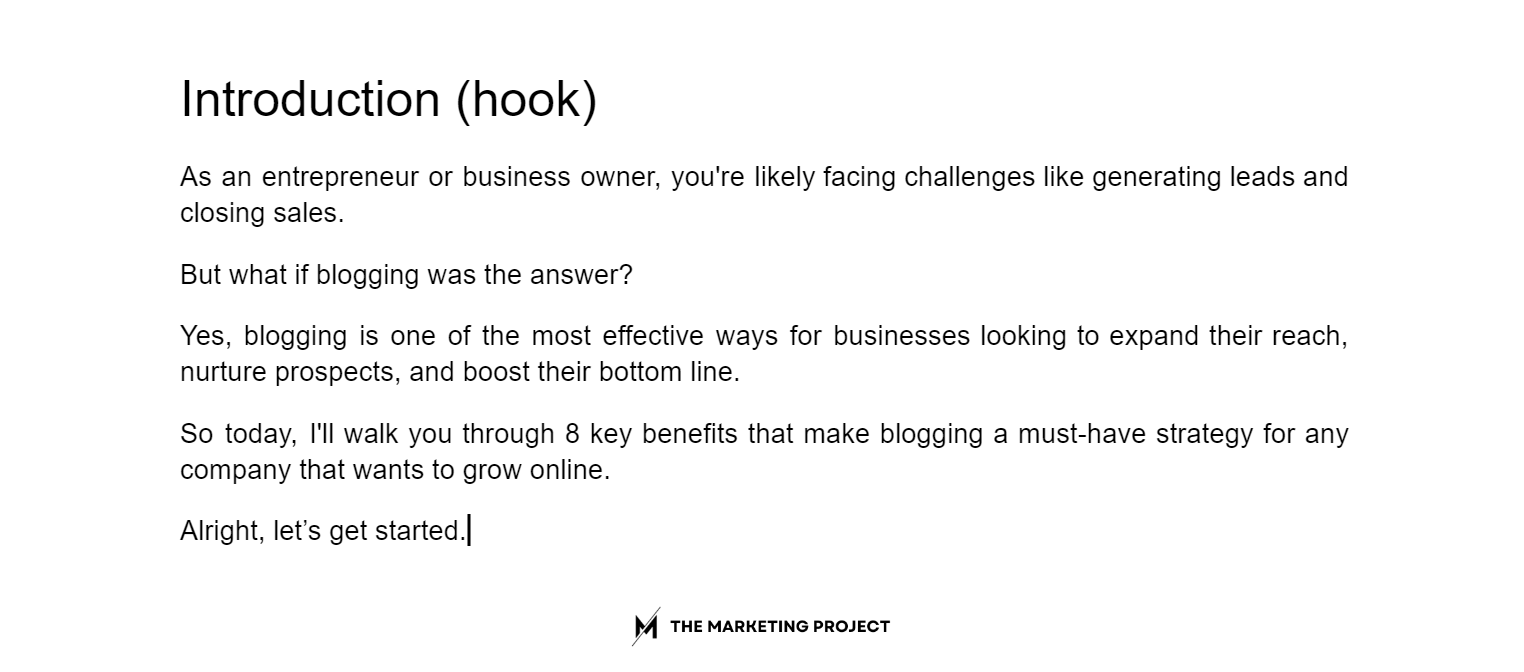
Many times, you can adapt the introduction from your blog post for your video's hook. For instance, in my blog post, I wrote about how lead generation and selling are two of the biggest challenges that businesses face, and then connected that to the solution I found; blogging.
Now, in hindsight, this introduction isn’t great. So I’ll rewrite it to make it stronger. But I'll stick with the overall theme of addressing challenges and offering a solution.
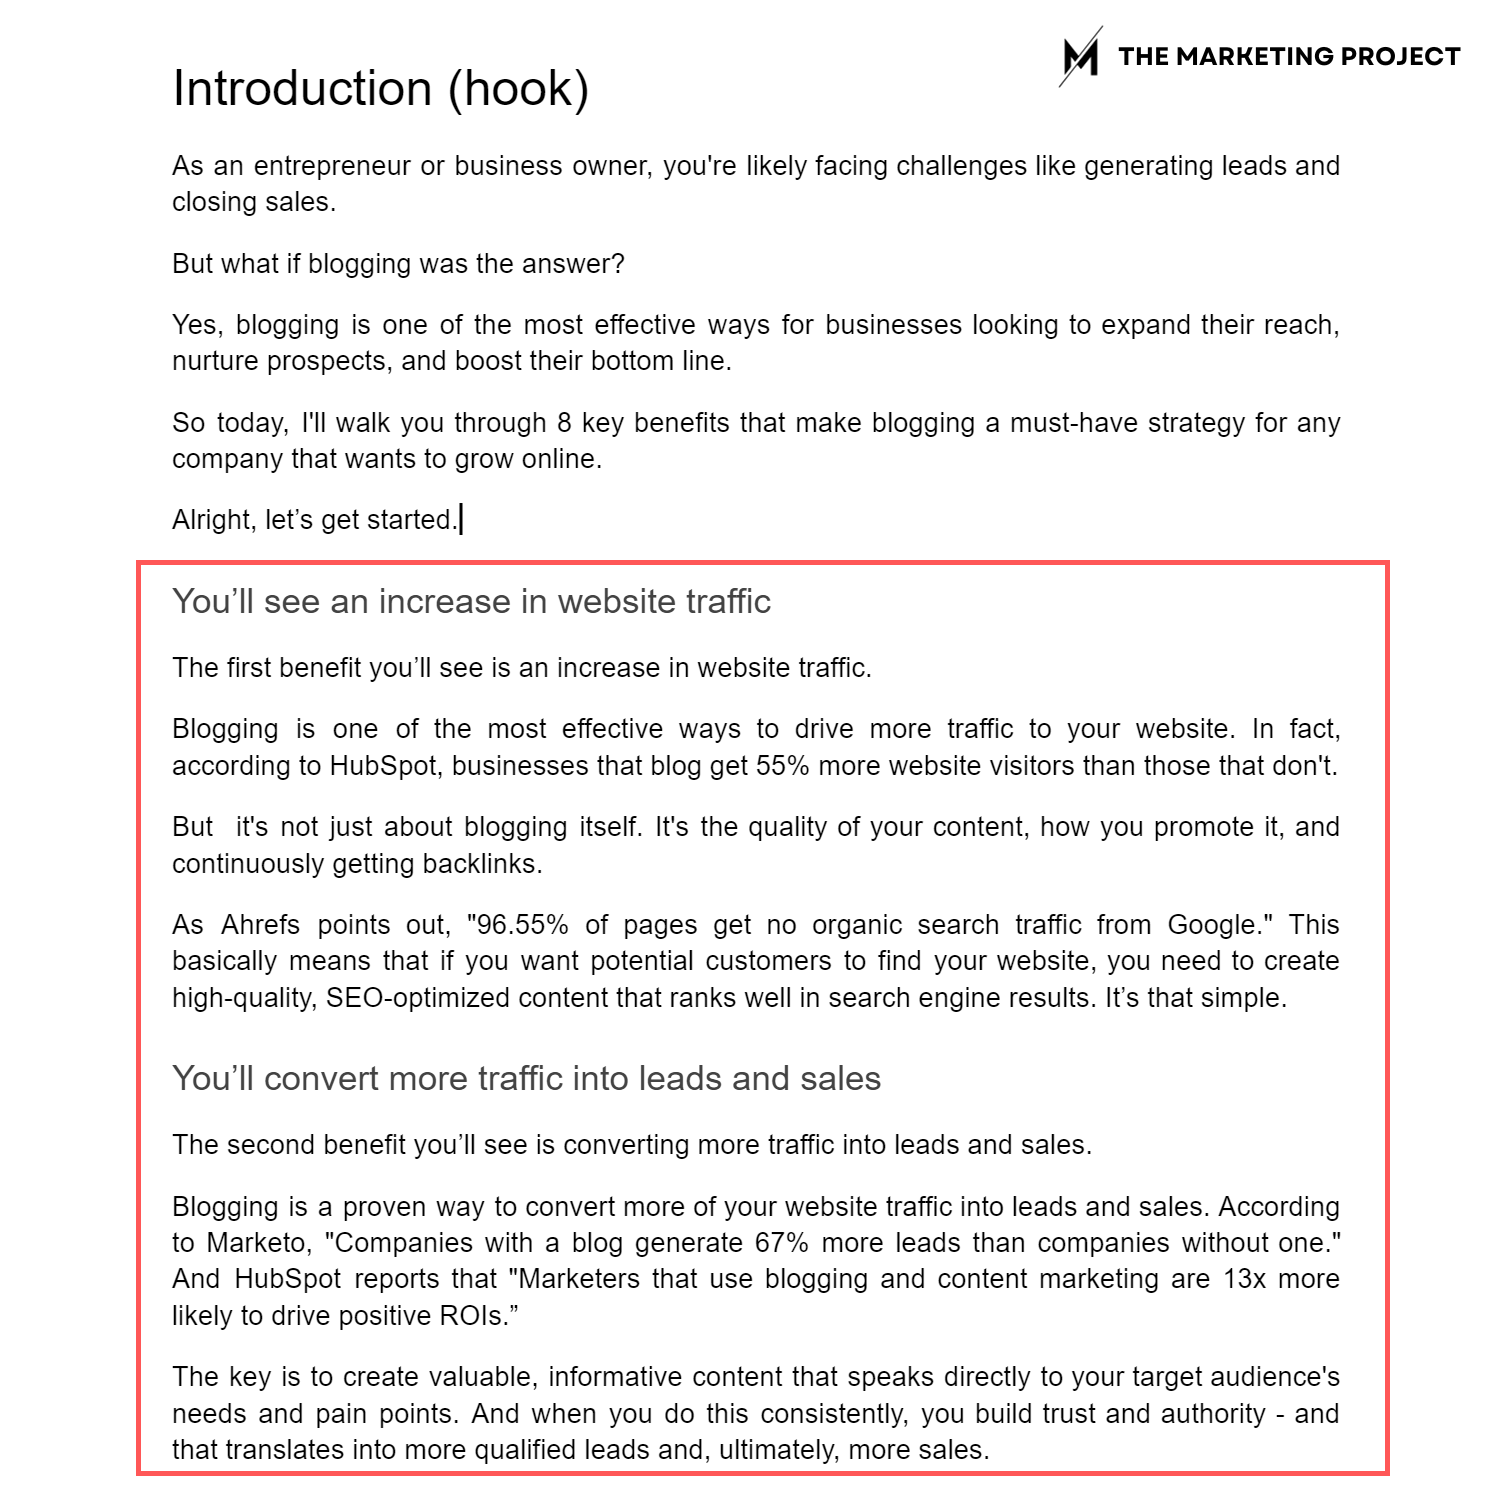
Once you finish your introduction, move on to the main content. This is the part where you can use most of your existing blog content as is.
If your blog post is written in a conversational tone, it should be pretty easy to copy, paste, and tweak a few sentences so they flow better when you read them out loud.
Just take your time and think about how to do it so each sentence flows naturally and ideas connect smoothly.
And lastly, wrap it up with a strong conclusion. A great way to do this is by summarizing your main points or highlighting a key takeaway for your viewers.
And if you think it makes sense and flows well, you can reuse your existing conclusion to save even more time.
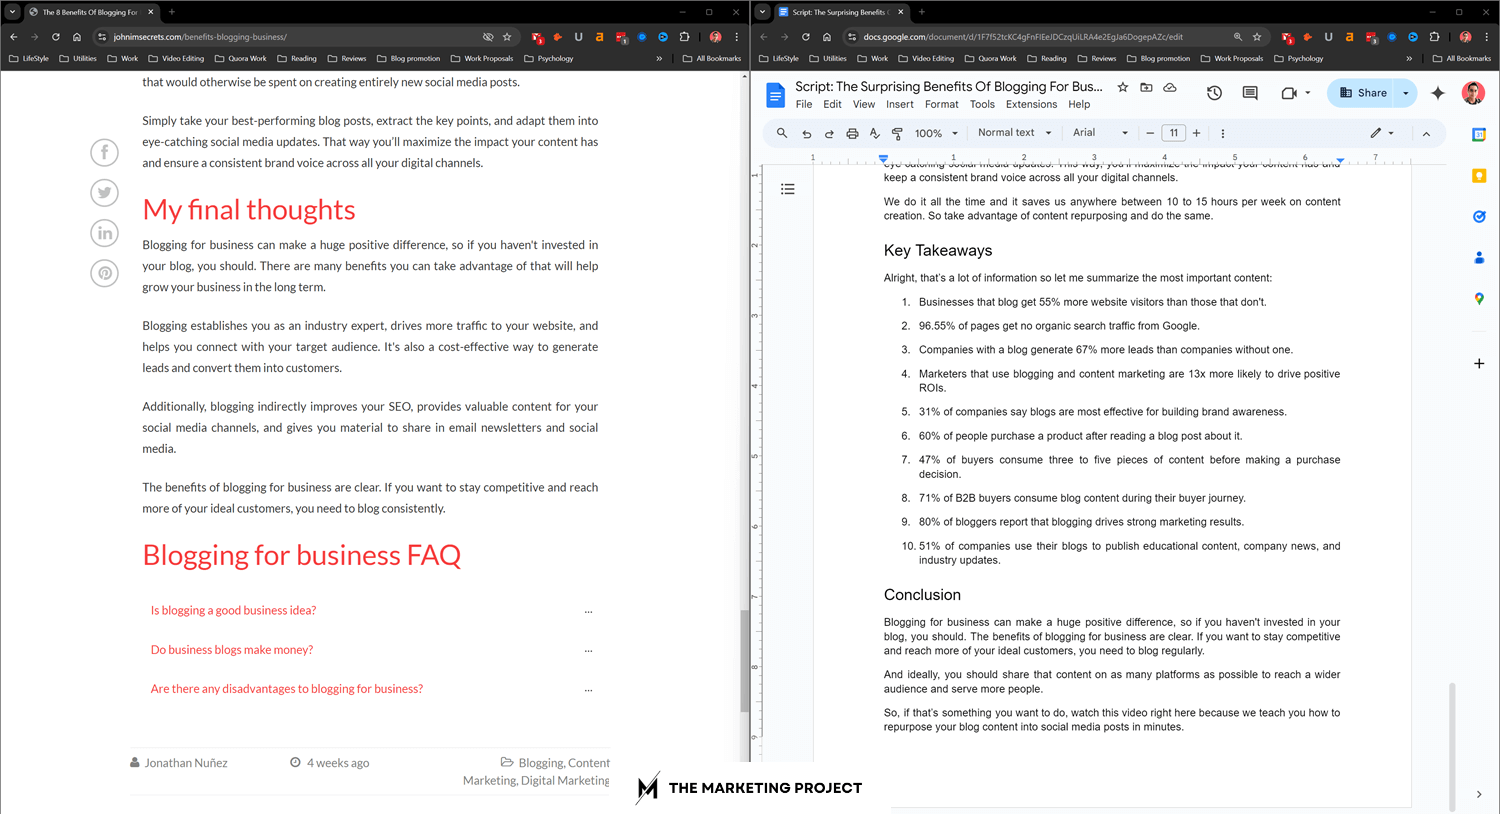
Step 3: Review and update your content
Once you are done scripting your video, take a break. Step away from it for a bit, and then return with fresh eyes.
If you start reviewing your content as soon as you finish scripting your video, you’re more likely to miss mistakes or overlook better ways to phrase things.
When we’re tired, it's easy to get tunnel vision, so it’s best to leave the review for the next day or send it to someone else on your team for feedback.
A key tip I can give you is that, when you review your content, read it aloud. This makes it easier to spot awkward phrases and polish them up.
Step 4: Record your video
When you finish reviewing your content, it’s time to record. Something I recommend you do is read through your script a couple of times before recording to get familiar with what you want to say and how you want to say it.
I always do this. And I’ve found that when I skip this step, I tend to make more mistakes—like mispronouncing words or not being satisfied with how I deliver certain lines. And this leads to us spending more time on editing than necessary.
So, take a little time to practice before recording. Trust me, it makes a huge difference.
Step 5: Edit and export your video
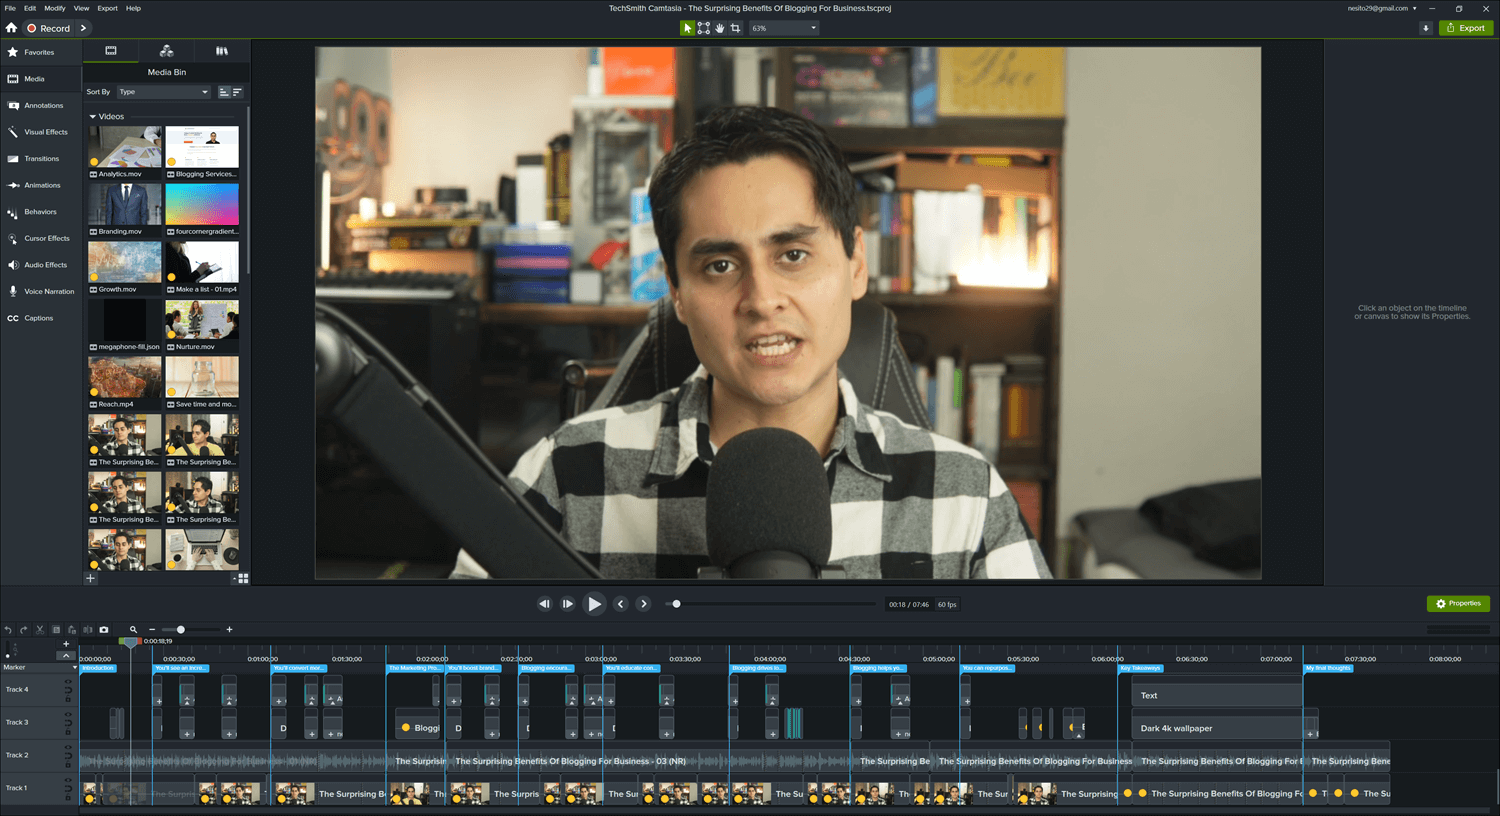
Alright, at this point you should be able to edit your content fairly quickly. If you’ve taken the time to practice your script, the editing process should go smoothly.
Just edit your content as you normally would, and then export your video draft. I say video “draft” because, even though we try our best to create the final version of our video, sometimes there are issues we don’t catch right away.
Step 6: Review your video
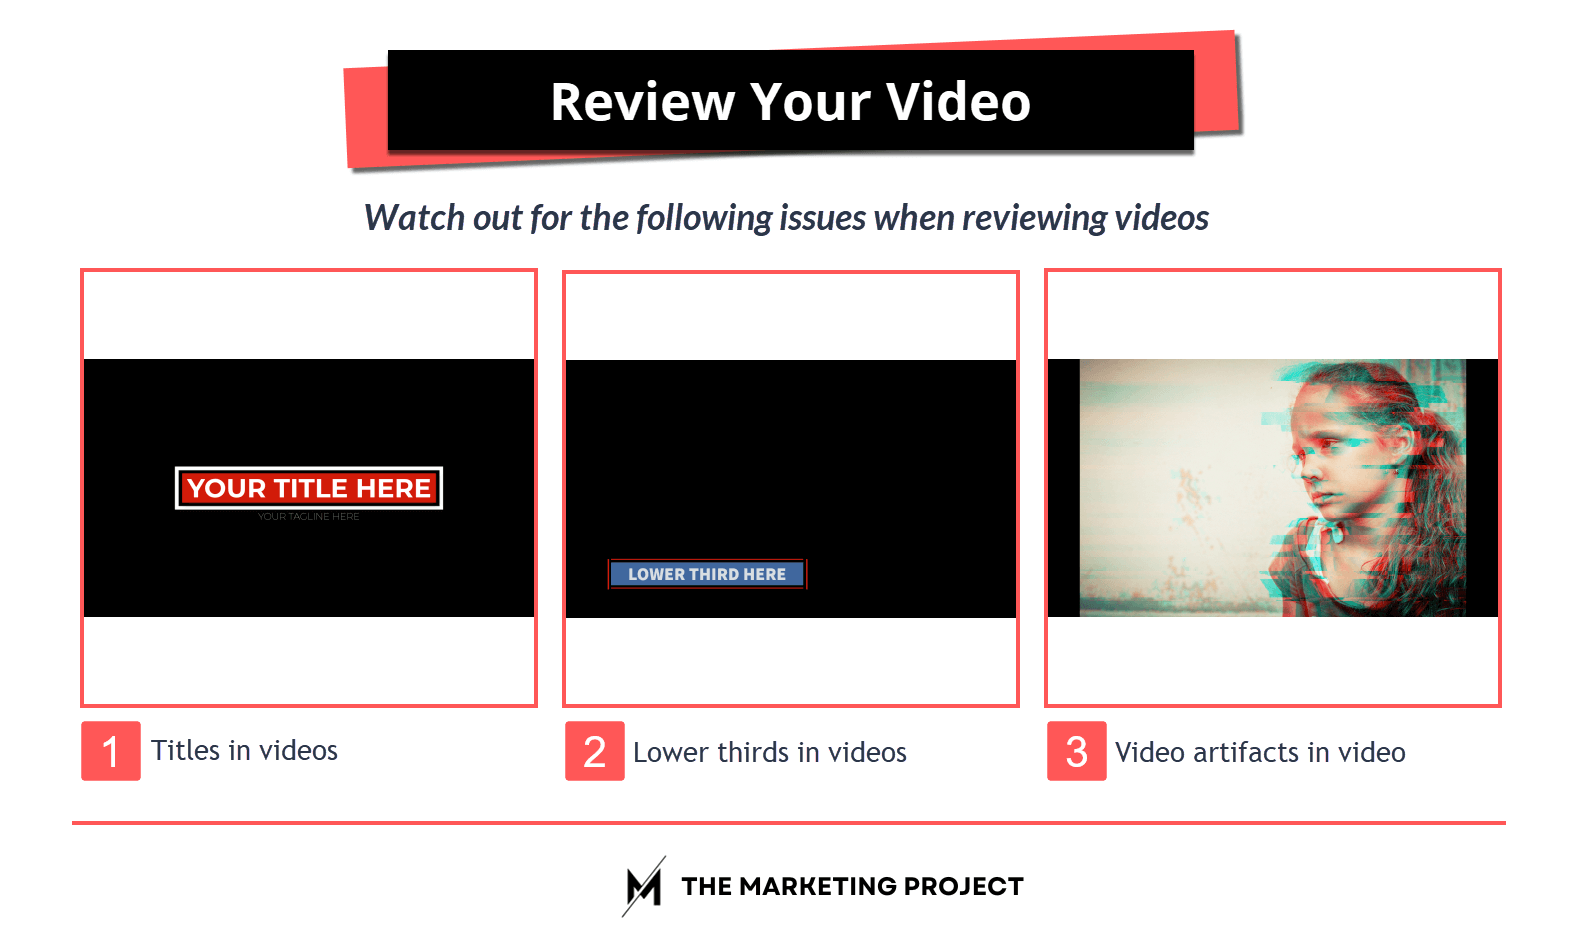
Double-check the grammar in your titles and lower thirds, and be on the lookout for any artifacts. This isn’t something that happens often, but sometimes videos can have encoding issues that cause artifacts during export. So, if you notice any, just re-export the video to fix them.
Step 7: Write your metadata
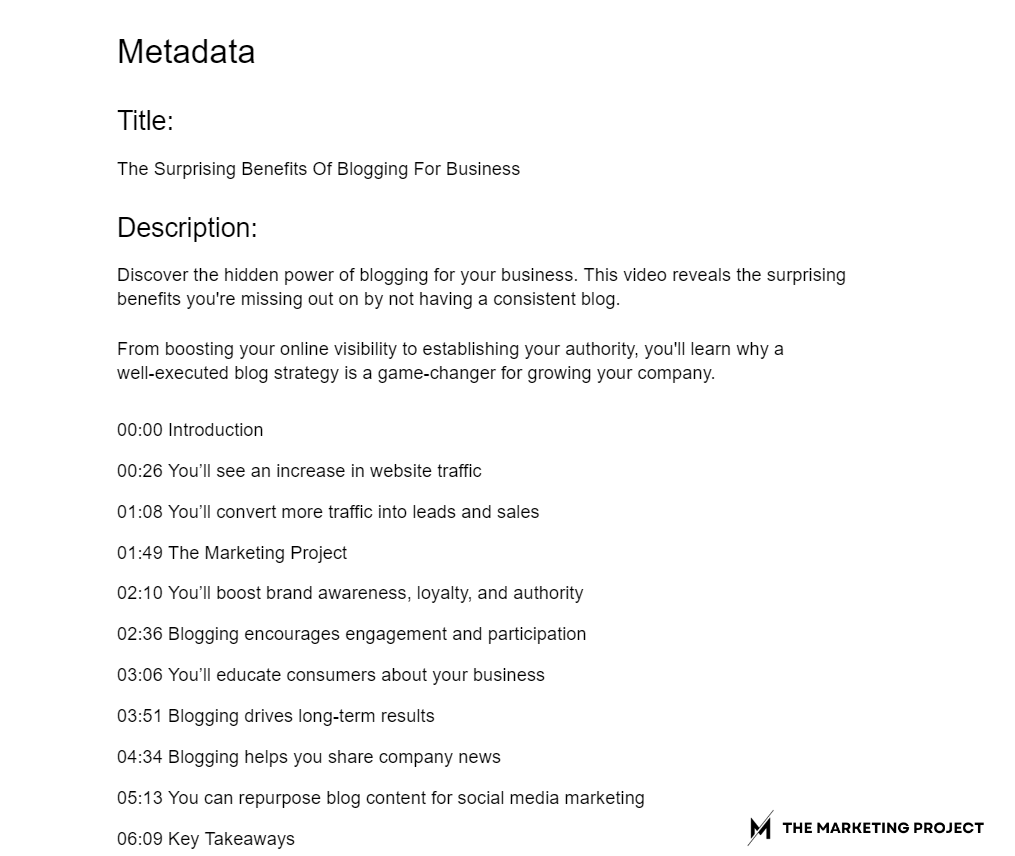
Once that’s done, focus on your metadata. Take note of all the timestamps for your chapters, write your video description, and add all the links you want to share with your audience.
Step 8: Publish your content
Finally, either publish your content or schedule it for later. There’s really not much else you need to do except test different thumbnails and titles, but that’s up to you and how you typically manage your content strategy.
My final thoughts
This is our process for repurposing blog content into YouTube videos. If for whatever reason you feel like something isn’t ideal or could be improved, feel free to tweak it to fit your workflow.
There are many different ways to do this, so do what’s best for you and your team.
Now, if you want to do the opposite, read our guide on how to repurpose your YouTube videos into blog posts. We walk you through our process for turning video content into blog posts in no time.
